Tuesday, October 2, 2012

The Rest of the Story

Once we had finally finished the inside of the house, it was time to tackle something I’ve hated since the day I first saw our home. The outside. I hated the color of the brick, the stucco, the siding, and the shingles. I wanted to punish the individual that chose those colors. Who thought it was a good idea to put together yellow siding, peachy-pink stucco, peachy-grey bricks, and a grey-green roof? AHHHHH! Hate is the only way to describe my feelings for this color combination. In fact, I never would have purchased this home if the inside hadn’t been great! But you can’t have it all! :)

So, last year I decided nine years of hate was enough. I got bids to redo everything (except the roof) and the price was not cheap. To stucco the whole house (including replacing the siding) and rock over the brick it was over $15,000. That was about $15,000 too much. So we had to go with Plan B. Unfortunately, we spent the rest of the year trying to decide if we wanted to change our current home or build a new one. It took us until December to decide to change our current home and stay put for a while. So, by then it was too cold to do anything outside. We started the work on the inside and waited for warmer weather.

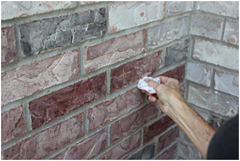
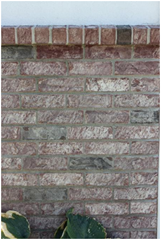
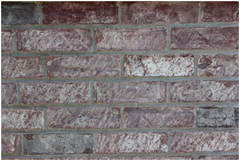
By July we had pretty much finished up all the inside work and we were ready to tackle the outside. So, I started with changing the brick. There are only a few options when it comes to changing bricks. You can rock over them. Pricey. You can remove and replace them with new bricks. Pricey. You can paint them. Ugly. Or, you can stain them. Never heard of that? Neither had I! But I thought about it one day last year and decided it would be a great way to change the brick color if I could find a brick stain. Well, I did some research (thank you the internet) and found a company in England that makes a stain specifically for brick! How lucky is that!? So, I ordered some Dyebrick samples and decided on a purple color. I know what you’re thinking, “Purple!!!??? How is that better????” Well, it’s called “Dark Plum” and if you put it on a piece of white paper it looks very purple. But, if you put it over my peachy-grey bricks, it looks like a mauve or dark red color. It’s pretty, I promise. :) I also ordered some black that I diluted to make some of the bricks grey. It broke up the red and looked nice, I think.

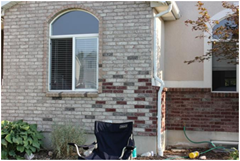
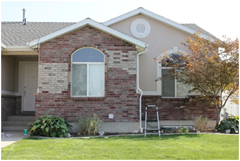
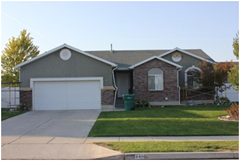
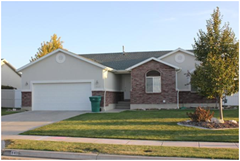
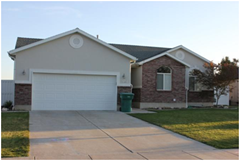
Here’s what our house looked like before. There’s a lot of pink going on there too. Bleh! Not my favorite. :)

image  imageimage

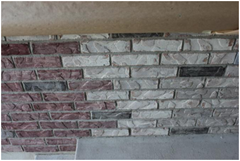
Here’s the work in process. The handsome fellow helping me is my dad (again). He’s pretty awesome for a 70+ dude! Nate said he was “done” with home refinishing so he didn’t help with the bricks. Thank goodness my dad was still willing to pick up a brush. :)

image  imageimage  imageimage  image

Yes, you have to apply the stain BRICK BY BRICK and do your best NOT to get it on the mortar. It was way harder than I thought it would be. The stain has the consistency of water so it would run down the bricks quickly if you had too much on the sponge or brush. We found that the Member’s Mark version of Clorox Wipes did a pretty good job of getting it off the mortar if you were FAST! You literally had about 3-4 seconds to get it off or it was permanent. There are some spots where we were too late…don’t look too close! But for the most part, we did a pretty good job of keeping it on just the bricks. I thought that if my dad and I worked together for two full days we could finish the job. I was wrong. It was several weeks later when I finally finished. The whole project took about 52 man hours. It’s tedious work, but MUCH cheaper than the alternative. The stain for the project was less than $200.

One rainy Saturday I worked for about seven hours. The rain was only coming down very lightly and sporadically. I didn’t think it would be a big deal since the stain dried so fast all the other times we’d applied it (because it was HOT), even though the Dyebrick paperwork says in bold, red, capital letters not to apply it if the brick is wet. I was stupid and did it anyway. When I finish doing the areas on either side of the garage door I went in to take a shower and then it started to rain. Hard. This was the mess I found when I came out. UGH! I knew it would be hard to fix without making all the bricks dark. I was out of stain at this point (I had high hopes that ordering not enough would work out) so I had to order more and wait. When it finally arrived a few weeks later I did my best of correct the mess but it’s still not perfect.

image  image

I knew that changing the brick color wasn’t going to do the pink stucco any favors. So, I debated what I was going to do to change the stucco’s color. You can paint stucco but it has the potential to flake off. But it’s also a fraction of the cost of putting on a new color coat of stucco. We went back and forth for months. It was hard to decide but we finally bit the bullet and paid someone to put on a new color coat. Here’s the work in process. (Note that they finished the stucco before I finished the brick! LOL!) That dark grey color is the cement coat they put on before the new color coat. It’s kind of like applying primer before you paint. A lot of people told me they liked that color a lot! LOL! It wasn’t terrible, but it does look terrible with the siding, which has to stay for now. Gotta win the lottery to get that replaced. :)

image  imageimage  image

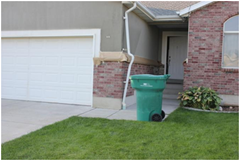
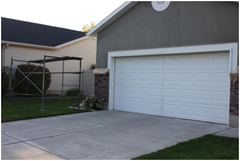
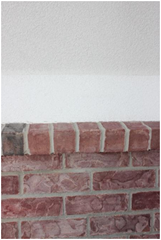
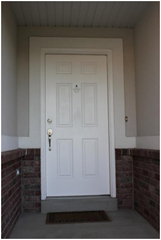
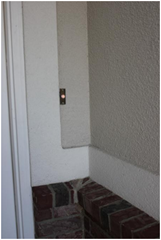
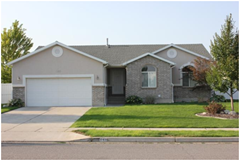
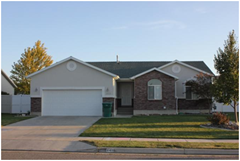
After all the hard work, blood (I did get a few scrapes on my hands…lol!), sweat (it was HOT), and tears (why does this take so long!?) here’s the finished product!!! Yeah!!! It’s REALLY hard to tell, but the new color is light tan-grey color. The sun washes it out. You can see the color better in the shots by the front door where it’s a little shaded. :)

image  image  imageimage  image

Here’s a before and after together. Pictures don’t do it justice. You’ll have to come and see it in person!

image  image

And now you know the rest of the story. :)

The Great Remodel of 2012

A LOT has happened since our last post. Apparently we’re not good posters! LOL!

During 2011 we continued with a lot of the same things we’d done in 2010. But there were a few changes:

In August 2011 (a few days before her 5th birthday) Alex started kindergarten at North Davis Preparatory Academy. She is now in first grade in the immersion program. She likes it a lot and seems to be doing well. She tries to speak Spanish a lot of the time, but doesn’t always make sense. It’s fun to watch her learn.

image  image

In December 2011 my mother passed away. She had been suffering for many years with multiple health problems. An infection hospitalized her and even though they were able to get it under control she asked to go on hospice. She knew that her extensive health problems meant that even if she survived this hospitalization she would not be around much longer. It was really hard to let her go but we honored her wishes and said our final goodbyes on December 10th. Her passing made for a bitter-sweet holiday season but we were grateful for all the blessings in our lives and especially the world’s best friends and family to help us get through.

image

Zack started preschool this fall at Bravo. We love seeing all the things he’s learning! Our kids are growing up so fast!

image  image

Nate is still working at HAFB but for a different contractor and on the Air Force side instead of DISA. We’re really grateful that he has a job in this unstable economy.

So, aside from normal life, we’re done a whole-house remodel! We talked about moving and building a new house but realized that wasn’t in the cards. So, we decided to finally make our home the way we (I) wanted it. :) We started a day after Christmas in 2011 and have been working slowly and surely ever since.

Here’s a quick and dirty on the big job!

We started with paint. We painted EVERY surface of the house. We started in the basement with the ceilings (yes, we did EVERYTHING including ceilings, closets, doors, trim, etc.). Painting ceilings sucks. Our necks and shoulders ached. But now that we’ve recovered from the pain we can say it was worth it! LOL! The paint in the house was originally all a cream color. We did the ceilings, doors, and trims in white. The walls are all a light tan color. It’s hard to tell any change in some of the pictures. But trust me, there is a change! Here are few before pictures of the basement. Zack wanted to be in the pictures. Notice Nate’s office…it’s still a mess almost a year later. LOL!  :)

image  imageimage  imageimage

So you can appreciate the work, here are some during pictures. We borrowed a power roller from our awesome neighbors for doing the walls. It was the best! I highly recommend it! We also used a sprayer for the closets. It was MESSY but made the work faster in the closets. The handsome gentleman you may not know is my dad. He helped a TON! He’s amazing!!!! Love you dad!!!  :)

image  imageimage  imageimage  image

The basement didn’t see as much change as the upstairs. But here are the after pictures. It’s hard to see the difference in the color because the flash washes it out. But if you look at the trim you can see the wall color is darker. It’s better in real life. :)

image  imageimage  imageimage  image

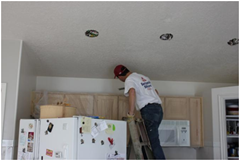
Upstairs there were lots more changes. In the kitchen, Nate put in can lighting. I was totally impressed with his ability to do this basically all by himself…with just my dad and me hollering at him while he worked in the attic. They look so much better than the ugly light fixture we’ve had for 10 years. Go Nate!  :)

image  imageimage

We also got rid of the pain-in-the-butt screen door. Yeah! Who knew it would be such a pain-in-the-butt to replace it? They had to remove the siding! AHHHH! Our awesome friend Eric Morrill of Morrelli Construction took out the old door and put in the new French doors. He did an awesome job! Thanks Eric!  :)

image  imageimage  imageimage

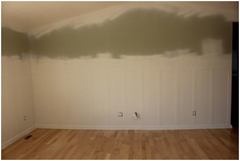
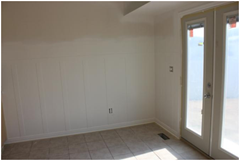
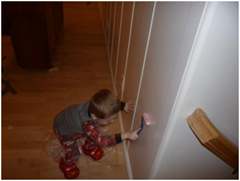
Then we decided to copy the rest of the neighborhood (sorry Julee and Vanesa) and put up board and backer in the kitchen, dining, and family rooms. We spent a couple of days mudding, sanding, mudding, sanding, mudding, sanding, and mudding and sanding the walls to try to make them smooth before they put the boards up. My dad came to help again. This project was awful. It made the whole house a HUGE mess of mud powder that got in the vents and blew all over the house. AHHHH! Eric came back and put up the boards too. He did an amazing job! Then we called in another favor and our friend Kevin Garduno of Finishing Touch Painters sprayed the board and backer and the ceiling in the great room. That was another HUGE undertaking to remove everything out of the room including all light fixtures and furniture. Again, though, it was nice in the end. J Note: The kids had to eat in the entryway because we had no kitchen for a few days. AHHHH!  :)

image  imageimage  imageimage  imageimage  imageimage  imageimage  image

image  image

Here’s the finished product!

image  imageimage  imageimage  image

Some additional changes in this area included repainting the toy box in the family room, buying and painting the dresser in the family room, and refinishing the kitchen table (to be exactly the same, but with some fresh paint and some fresh poly…thanks to Korrie Bastian of Red Hen Home for her help with the table refinishing project!). White paint makes everything better. Nate and I became quite the paint sprayer pros. Ha ha ha! When we will the lottery, we plan to put in granite countertops and a tile backsplash…but that won’t be for a while since we don’t buy lottery tickets. :) LOL!
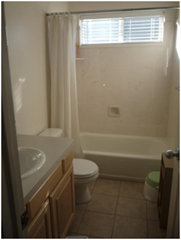
image  imageimage  imageimage

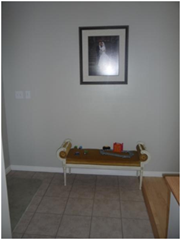
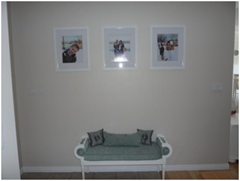
The entry way was home to this lovely bench that belonged to my Grandma Gould (my mom’s mom). It was a gorgeous piece of furniture but the gold didn’t go with anything here. So, I painted the bench white (after my dad made some structural adjustments because of the way it was originally built) and my good friend Erin Valentin made gorgeous aqua colored cushions. Thanks Erin for sharing your amazing talents!!! I made the pillows on top. (I can only make square things like pillows.) J The trains are still often featured on the bench if you come before cleanup time.  :)
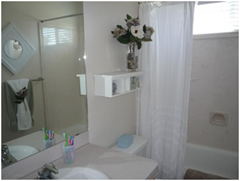
image  image

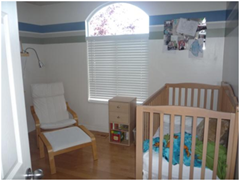
The kids’ rooms probably changed the most. Zack’s room went from a baby room with a crib to a big boy room with a bed! (Oh yeah, we also potty trained him this year. Yeah!) Alex’s room went from a pretty purple color to boring tan. Sorry! But I had to make everything the same. I am, of course, the official Princess of Sameness. I must be true to my calling.  :)
image

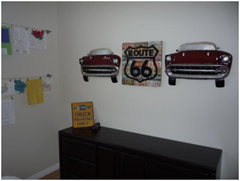
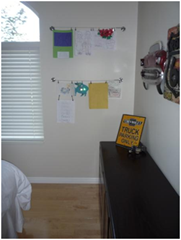
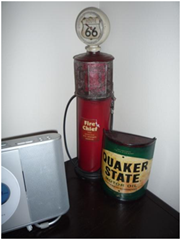
Zack’s room after. He LOVES cars so we decided to embrace that and decorate his room with cars. His furniture was ugly old oak stuff. We got some of it for free and some from KSL. Korrie Bastian of Red Hen Home refinished the furniture to make it much prettier. You can see her blog post about refinishing the furniture here: http://redhenhome.blogspot.com/2012/04/zacks-room-oak-to-espresso.html.

image  imageimage  image

Alex’s old purple room.

image

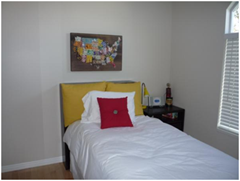
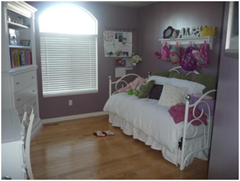
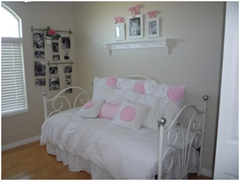
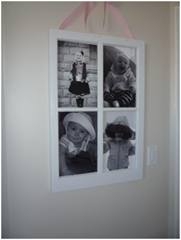
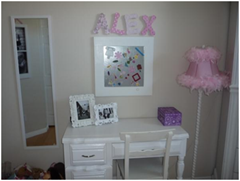
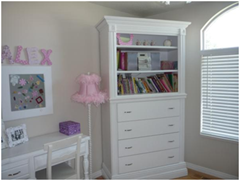
Alex’s new pinkish room. I made the pillows on her bed. I love the 3 euro square ones the most. I had to cut out over 100 circles to make them but I think they turned out SO cute!  :)
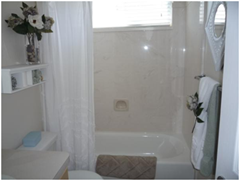
image  imageimage  image

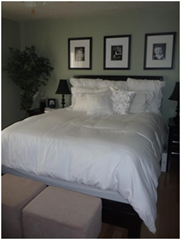
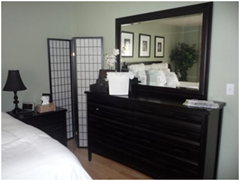
The master bedroom used to be a beautiful green color. It was the only room I was super sad to paint. I loved it the way it was, but I was committed to making everything the same, so the green had to go. Here it is before.

image  image

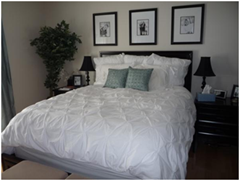
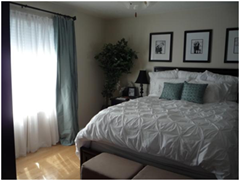
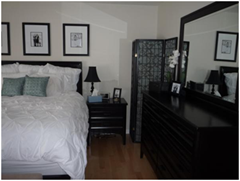
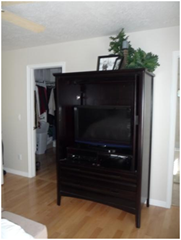
The master bedroom after.

image  imageimage  image

Here’s the bathroom makeover. Before.

image

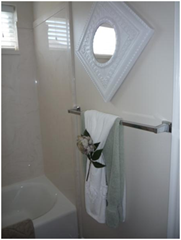
After.

image  imageimage

I know this is long, but a whole house remodel takes forever! LOL! Believe me, this is an abbreviated version of all the work that went into everything!!! Stay tuned for the finishing touch!